|


In this tutorial I'll explain how I painted this Christmas postcard using tablet and the Airbrush tool in Adobe Photoshop. |
|
First thing to start with is an idea. I wanted a Christmas card that would be natural and poetic, less Christian and - absolutely NO Santa hat X-D. So I got an idea of little birdies decorating a tree branch so that it would look like a Christmas tree. Next thing was to find bird species I wanted to paint, so I looked into some books and found that gold finches would be ok. I found some more reference pictures of the gold finches on the Internet (Well, this was the first time ever I drew gold finches o.O) - gold finches in many poses. I didn't find exactly the poses I needed for my picture, but it didn't matter; All I needed was to draw the finches into original poses using the reference pictures I had. I sketched the image on a paper and scanned it, and this is how it looked:
|

|
|
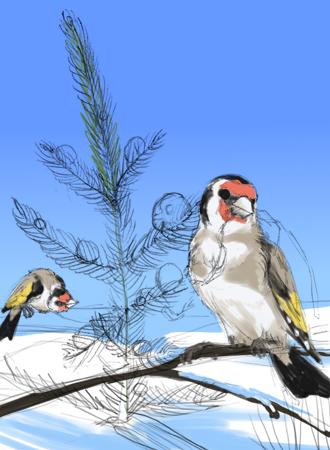
Next to the pencil sketch, the second most important thing is a colored sketch. I need to color the whole picture using basic colors (no shadows yet) so I can see how the final piece will look like when it's finished. I wanted nice sunny weather in contrast with the white snow and the finches' colors, so I played with the colors a little and this came out: (I used the Airbrush tool; Everything I'll use in this tutorial is the Airbrush tool and maybe the Eraser, but that's all, so I won't mention it anymore. I used big sized brush and I colored the whole piece zoomed out. The original size is 1354 x 1844 px)
|
|
|
I created 7 layers so far. A background layer - the blue sky, one layers for the snow in the background, third layer is for the bird in the background, fourth layer is for the Christmas branch, next layer contains the branch for the front birdie, above it is a layer with the birdie itself and the last layer is the colored sketch itself.
|

|
|
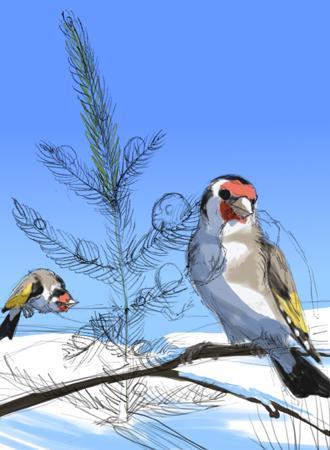
Now we have the basic colors, we can add shadows. I chose the sunlight comes from right upper side, so I put the shadows like this:
|
|
|
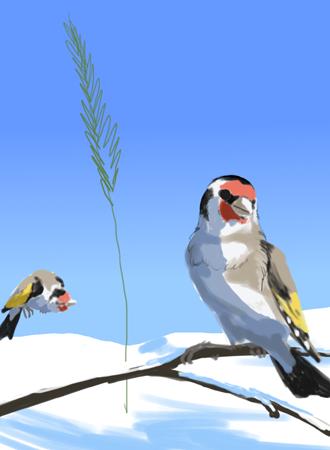
So the colored sketch is finished now when it contains shadows. I usually stop here and continue next day, because I am too tired, bored, and most of all, when I see it again after some time, I can see if anything is wrong.
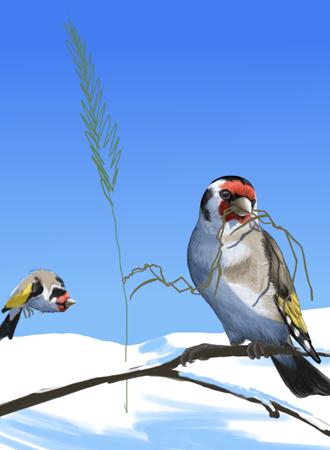
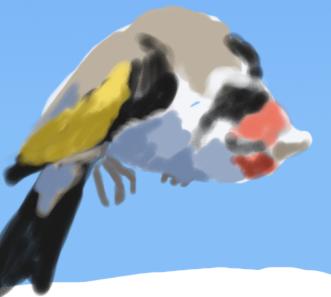
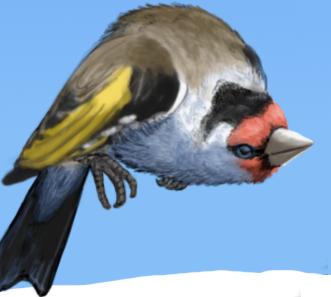
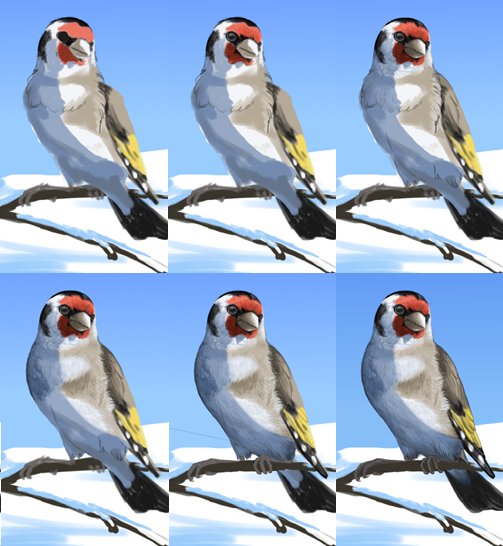
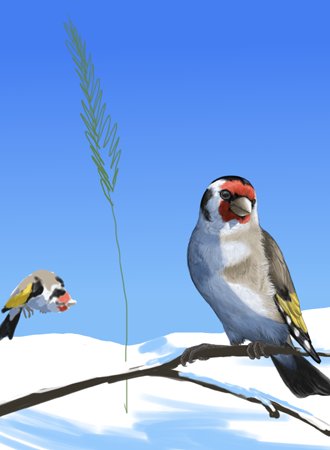
When I want to continue on, I hide the layer with the sketch and now the real work begins :-D I have to paint it all, step by step. Usually I choose the characters to paint them first. I paint them using a very small brush in original picture size or zoomed in. I keep adding details:
|
|
|
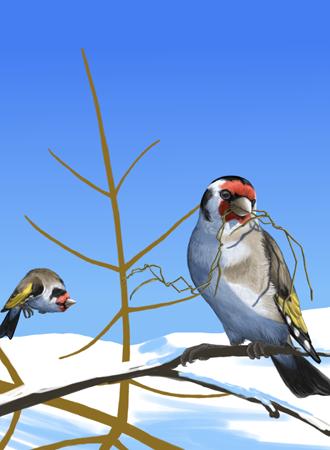
Now I have both of the birdies, I can start painting the tree. I paint the bald branches into the layer I created for the tree using one color. I also shadowed the grass thingy in the bird's beak - I set "Preserve Transparency" for the layer and then I easily shadowed it using two different colors, the brighter and the darker.
|
|
|
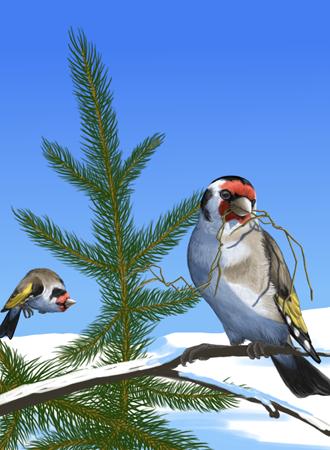
Every tree needs leaves, so I paint them into separate layer I create. (Yes, it demands a lot of patience to paint each pin... but hey, it's a conifer, and you surely want it to look like one!)
|
|
|
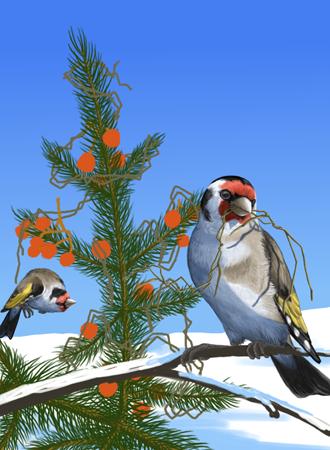
Now the ornaments. I thought that the birdies should use rowan berries (?) as the ornaments, and the grass-thingies as Christmas chains. I created four separated layers: Two for rowan berries in front of and behind the tree, other two for the grass chains in front of and behind the tree. I painted them using basic colors, shadows would come later.
|
|
|
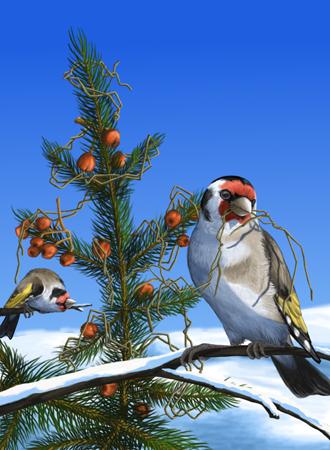
I added shadows to the tree branches, pins and to the ornaments the same way I shadowed the first grass-thingy in the bird's beak, setting the "Preserve Transparency" for each of the layers. I also added details to the branch that the front bird sits on, added a branch for the background bird and I slowly started to work on the background snow. And I darkened the background blue sky.
|
|
|
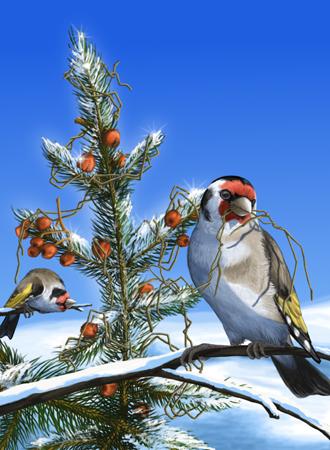
The tree looks weird when it has no snow on it, because everywhere the snow is! So the next step is to add the snow to the tree. Again, I created a new layer and just painted it using white and blue colors. I also added shinings to it so it looks more Christmas-like.
|
|
|
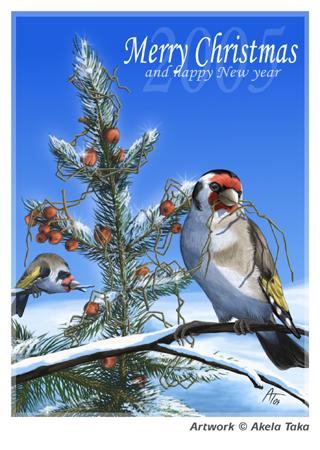
We're almost done :) I added a signature and I put the picture into a frame so it looks like a real Christmas card. I also added the text. Merry Christmas and happy New Year to everyone ;)
|
|
 |
 |
All of the images and graphics have been made by me (Akela Taka). Please do not copy, use or redistribute them without my permission. Copyright © 2002 - 2010 Akela Taka. All copyrighted characters belong to their respective owners. |
|